5 tips for taking amazing photos on your smartphone

This is a guest (non-sponsored post) by Summers Photography who run a variety of online photography courses as well as our photography membership for small businesses and bloggers called Capture Your Brand. You can find out more by visiting their online school here: https://summersphotography.teachable.com
We would love to hear from you on social media and see your progress: Facebook – https://www.facebook.com/SummersPhotographyUKInstagram – https://www.instagram.com/summersphotographyuk/
Our phones are in our back pockets every day, so it makes sense for bloggers to use their smartphone for everyday photography as opposed to clunky DSLR’s.
Now, I am a professional photographer of 18 years and the merit of using your “proper” camera is high and most likely required for any work that you currently have.
However, every day snaps for stories and the odd grid image is key for blog growth, so let’s use our phones and create professional looking images.
It’s not rocket science to take a photograph on your phone, point, and shoot right? Absolutely – that’s the beauty of them!
However, there are so many other features and photography techniques that we could use that will really enhance your photography no-end.
1. Composition Rule of Thirds and Turning on the Grid – In the settings menu on your camera, you have the ability to turn the grid system on. This is something I would recommend using as it guides your composition. One of the rules of photography is the “rule of thirds”. The idea or goal is to balance your scene in front of you to be in line with the horizontal or vertical lines. By doing this, it creates interest, is pleasing to the eye, and a dynamic feel to your image.
For landscapes and horizons, experiment with placing your horizon on one of the lines. For portraits, try to have their eyes on one of the lines, or inside one of the squares. Experiment with the placement of your subject within each of the crosspoints, you will have a very different looking image each time and will train your eye on what your style preference is.
2.Exposure lock – Next time you take a photograph, tap and hold the screen. Make sure you tap where your subject is, as this will focus on that area and lock the exposure for that object. If you prefer it to be slightly brighter (overexposed) then push up on the screen. Prefer it darker? Tap, hold, and slide down. Great for experimenting with brightness exposure levels rather than fixing it in post-production.
3.HDR – HDR is a great setting to have on your camera. The official name is High Dynamic Range; which doesn’t really tell us too much about what it’s purpose is. The essence when using HDR averages out all of your tones. It brings up the shadows so they are not as dark, reduces the highlights so they are not as bright and brings it to a more average tonal range. This is great if you are at the beach with a very bright sky, but you may have a darker stone beach or boats you may want to see. HDR will average out all of the tones and make for a more pleasing image. Use with caution on portraits, where landscapes and subjects look great with it.
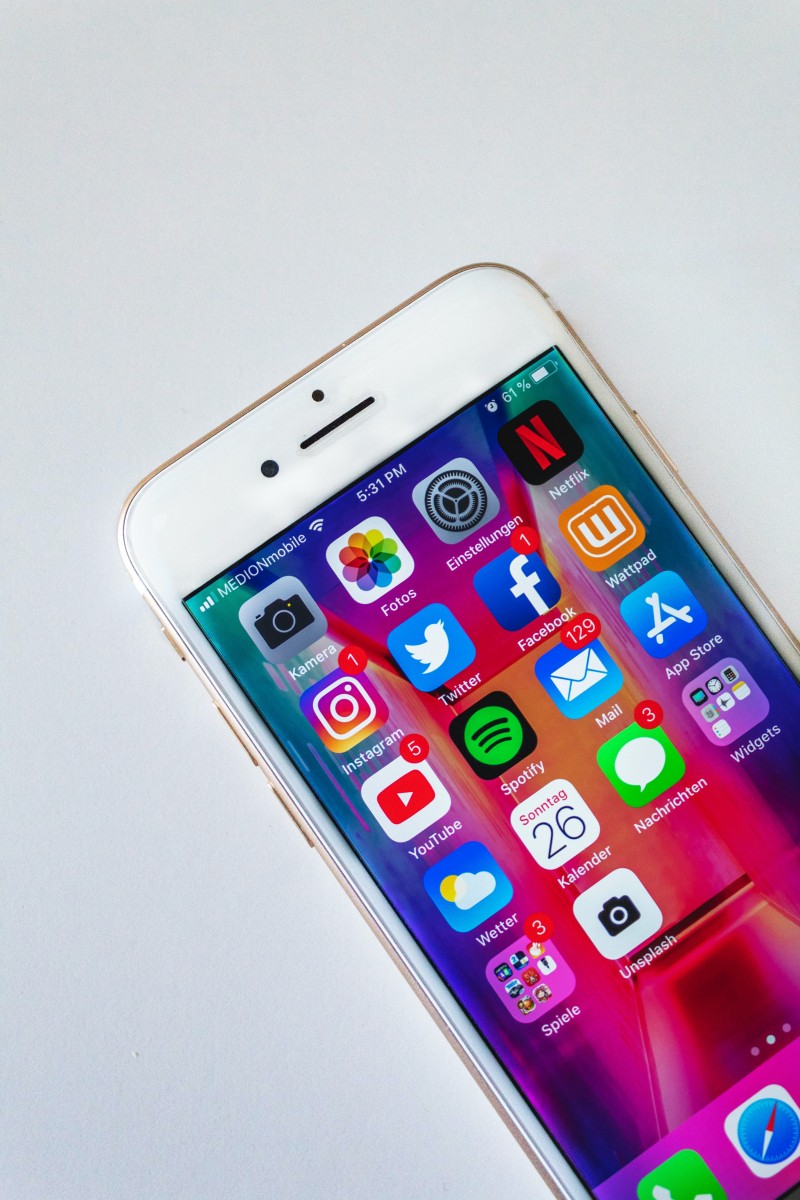
4.Lenses & Accessories – Did you know there was a difference in quality between the front lens and the back lens on your smartphone? It depends on the model of your phone e.g. Apple iPhone 11 Pro is the first model to have 12 megapixels on the front camera and back. The iPhone X (previous model) has 12-megapixel on the back and 7-megapixel on the front.
Try to get in the habit of photographing with the rear lens – you will see significant improvements. Even your selfies deserve the back lens! If you would prefer to have the better quality portrait, then consider using a tripod for your smartphone and a bluetooth wireless remote to trigger the exposure.
If you are looking for a real difference in your lens options, then look into the lens adapters for your smartphone.They fit onto your phone with what can only be described as a funky clothes peg. This then settles over the lenses and you can screw your new lens as an adapter. They come in macro for close up, telephone for far away zoom and wide-angle to get lots of things in. Starting price £10.
5.Lighting This is the one element that is going to transform your photographs. Natural light next to where you are photographing is key – it can be front facing, it can be to the side; find the windows or doors in your home that you can use and place a table next to.
Use a reflector to the opposite side of your light source to bounce light back in. Remember to be aware of where your shadow is being cast as if the light is coming from over your head or behind you, there will be a shadow cast over the subject in the shape of an arm and a phone!